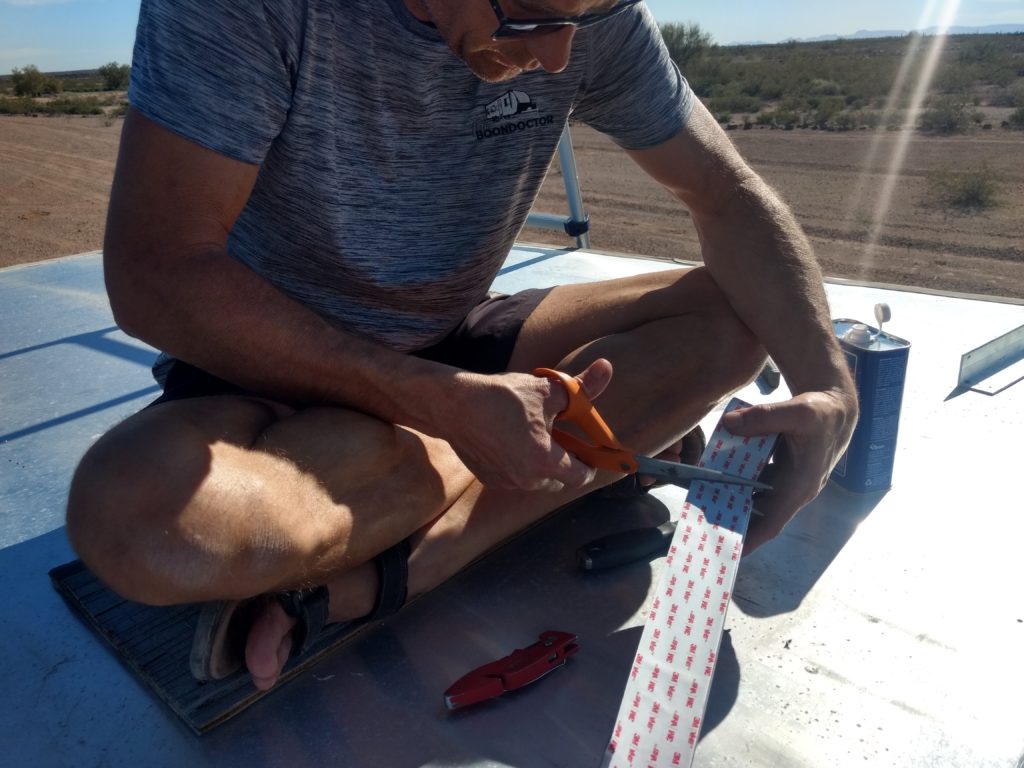
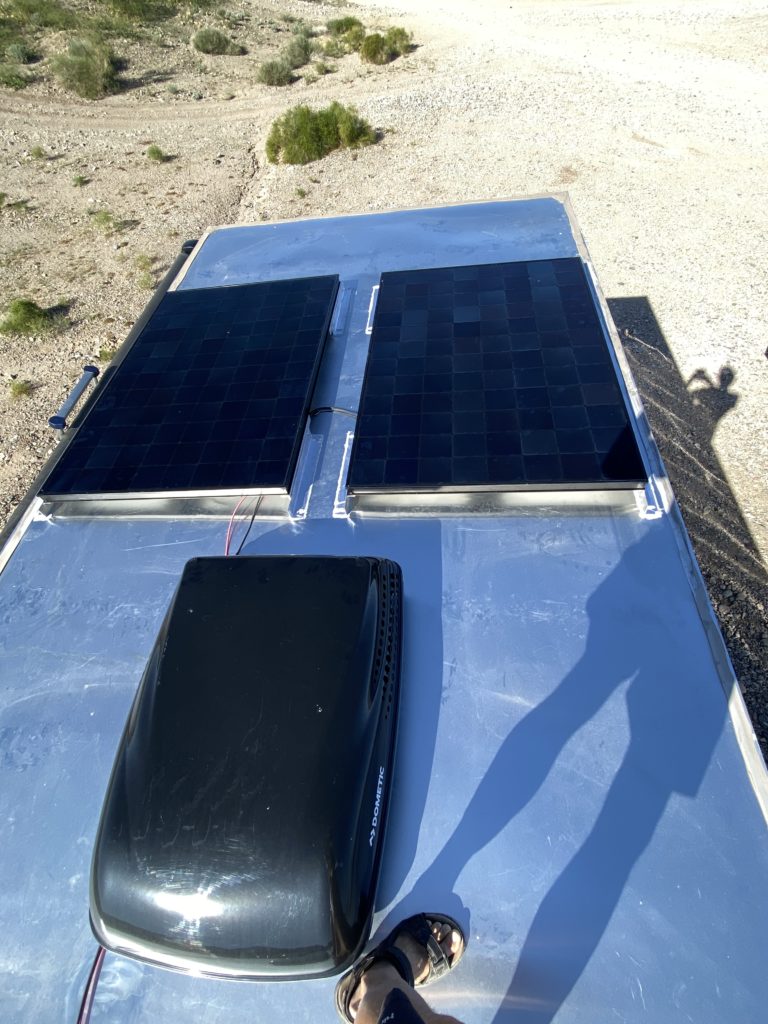
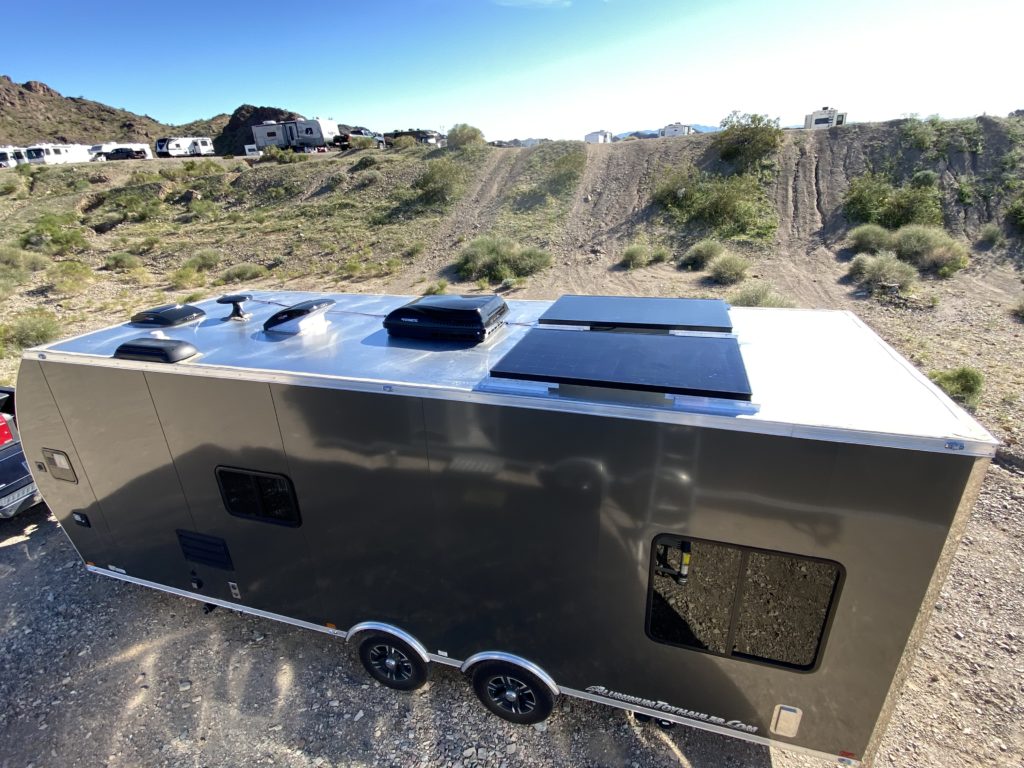
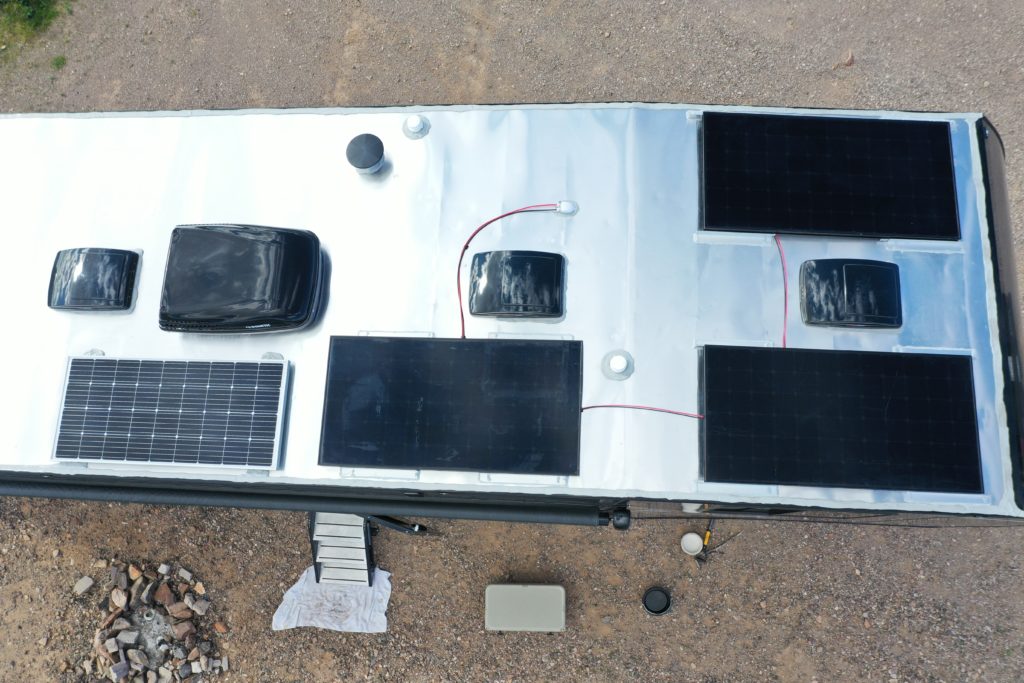
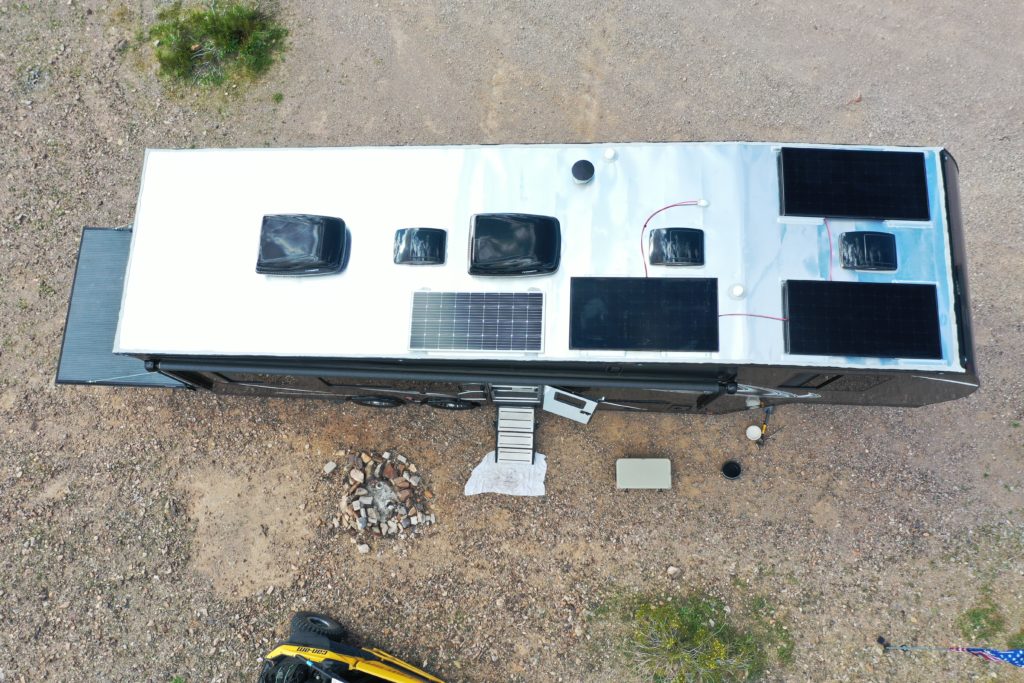
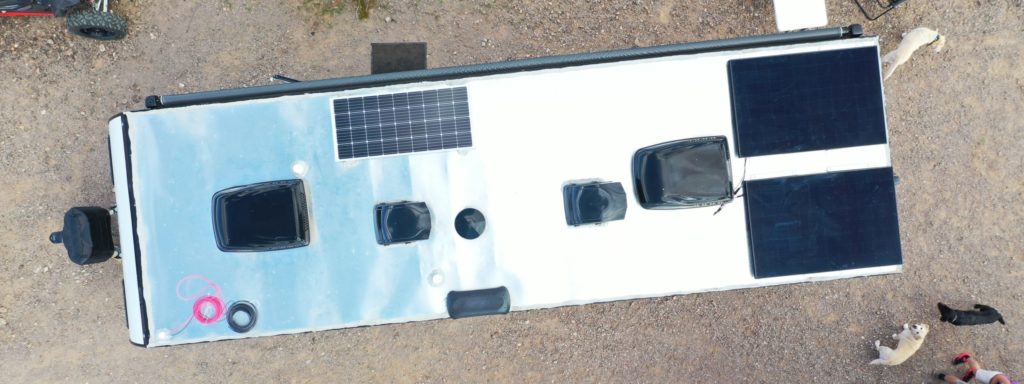
When I install solar panels on the roof of an ATC RV trailer I use a combination of VHB (Very High Bond) 4950 3M tape, Structural Rivets 3/16″ and 1/4″ and Dicor 501 self leveling sealant.
Panel Layout
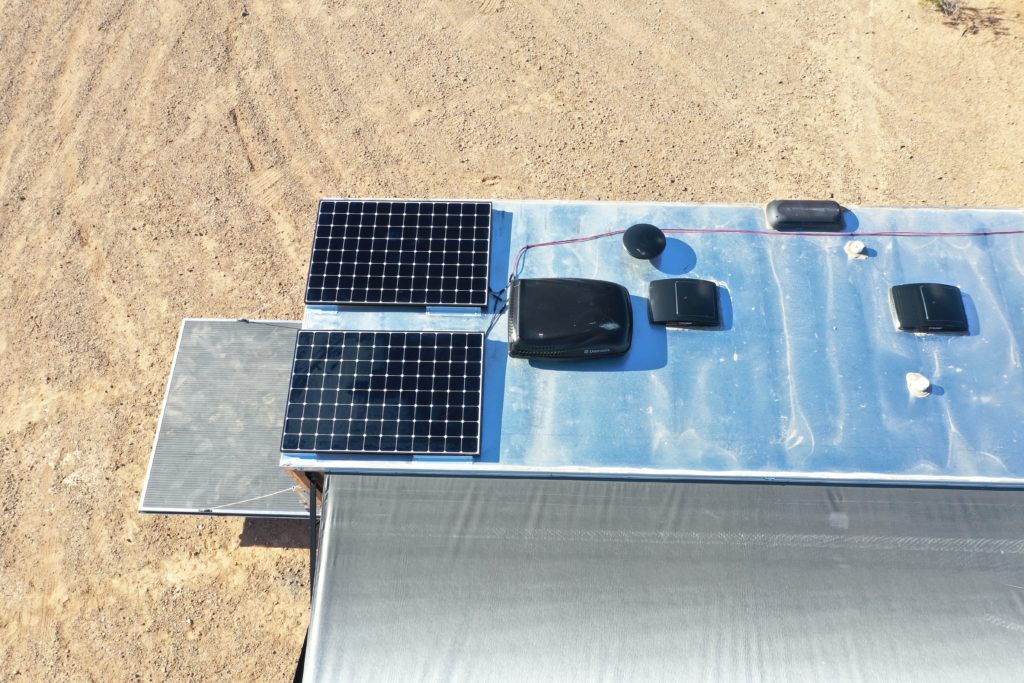
First you need to decide where your solar panels will fit on the roof making sure that you get maximum solar exposure. I like to make sure that shading from the roof obstacles (AC unit, extended Antennae or open vents)will still have sun exposure with 45 degree angle. This is easily checked with speed square. I will also align the panels with crossmembers to get maximum support for them.
Mounting the Solar Panels
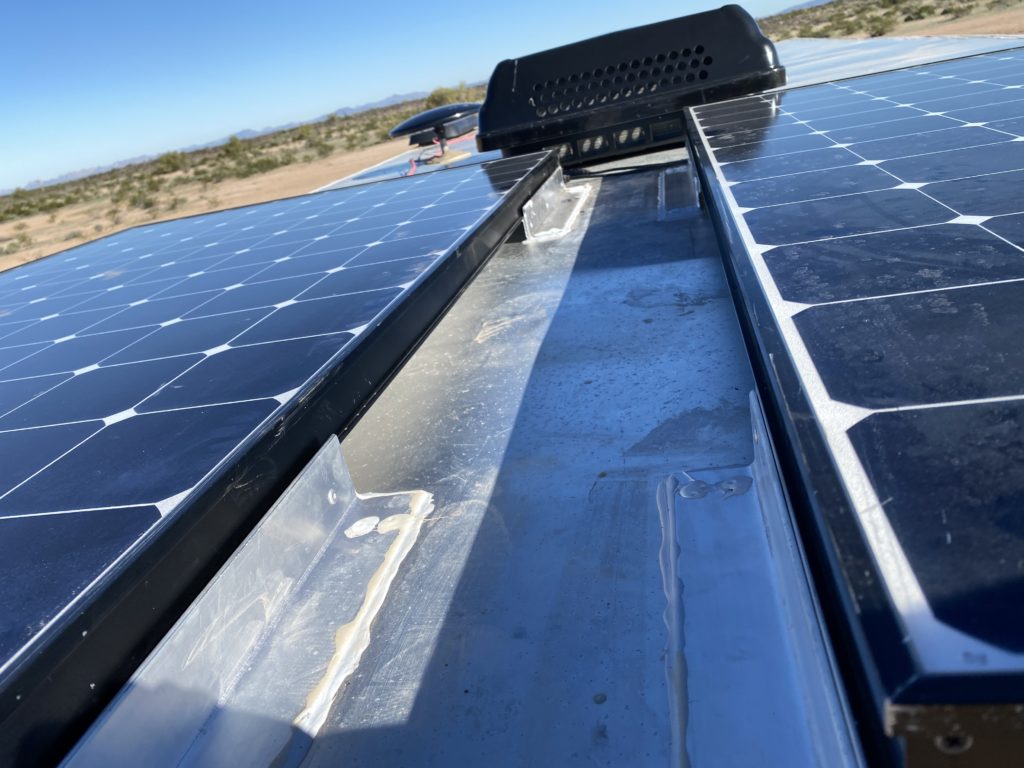
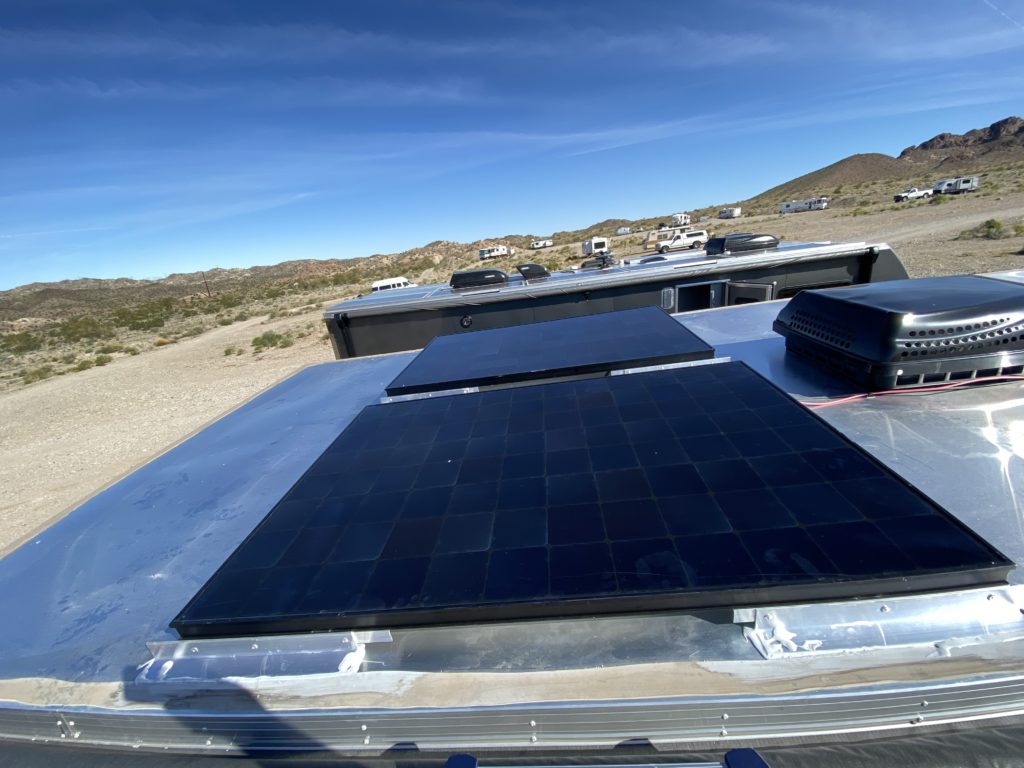
When you mount the solar panels it is critical to have some air flow under the panel, this will help them stay cool. Solar panels will produce more energy the colder you can get them. I also try to tilt the panels just enough to have any water run to one side or corner. This will keep water from pooling and dust from collecting some. You might even be able to consistently orientate your RV so that the tilt is facing South to make the panels a little more efficient!
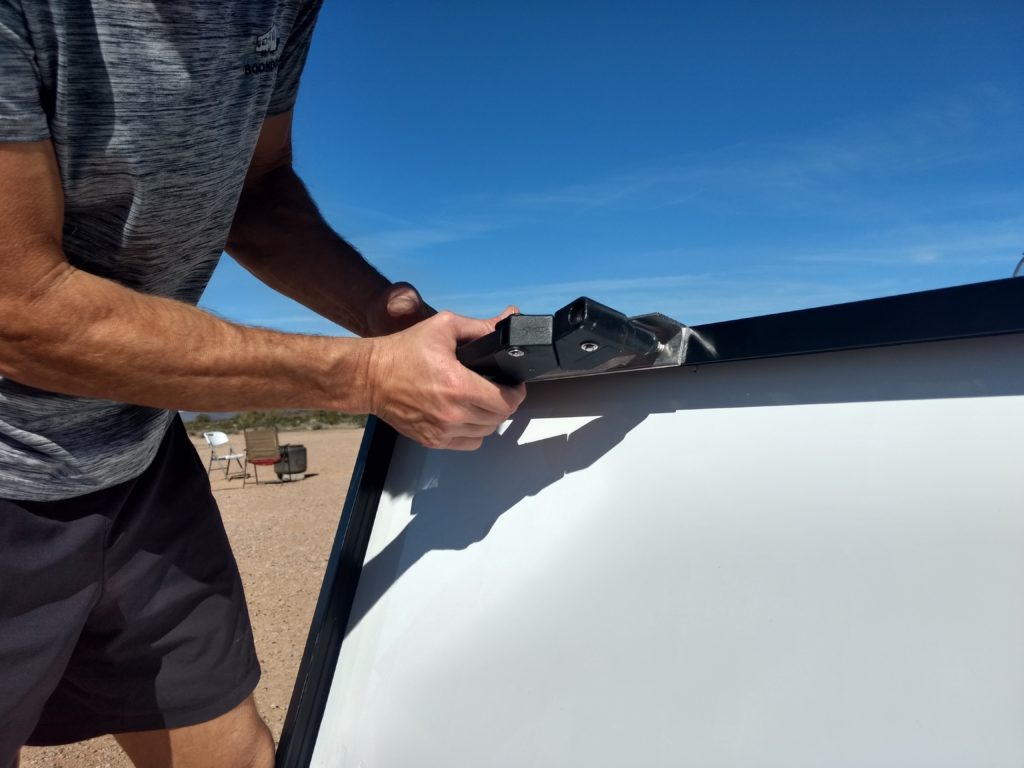
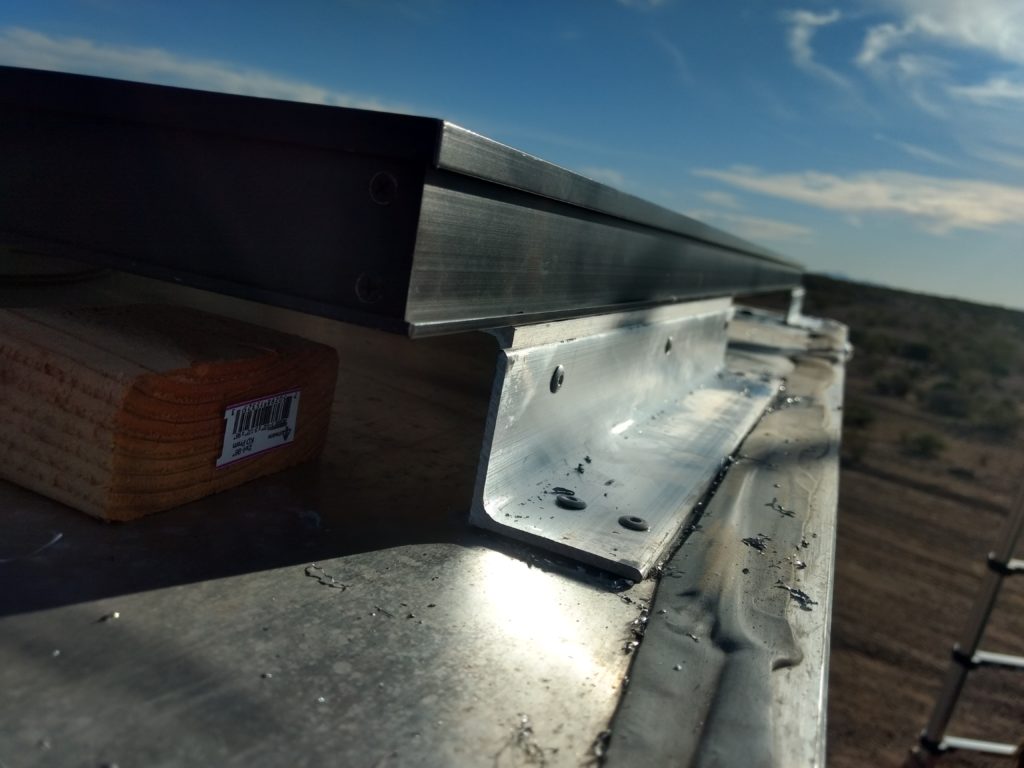
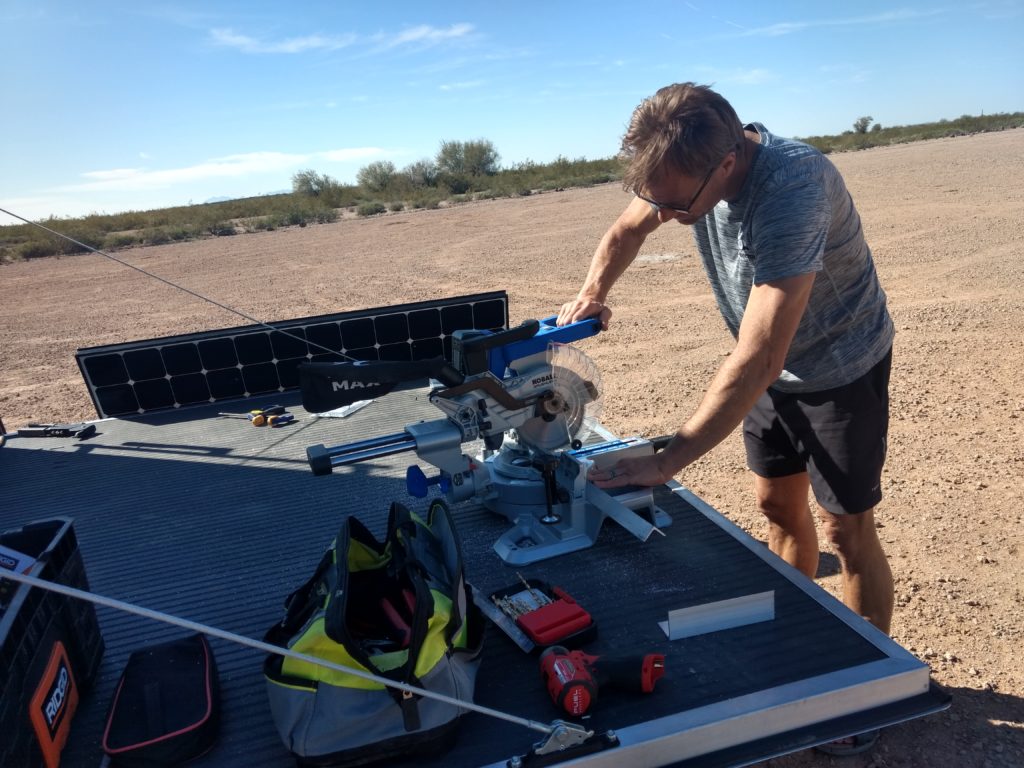
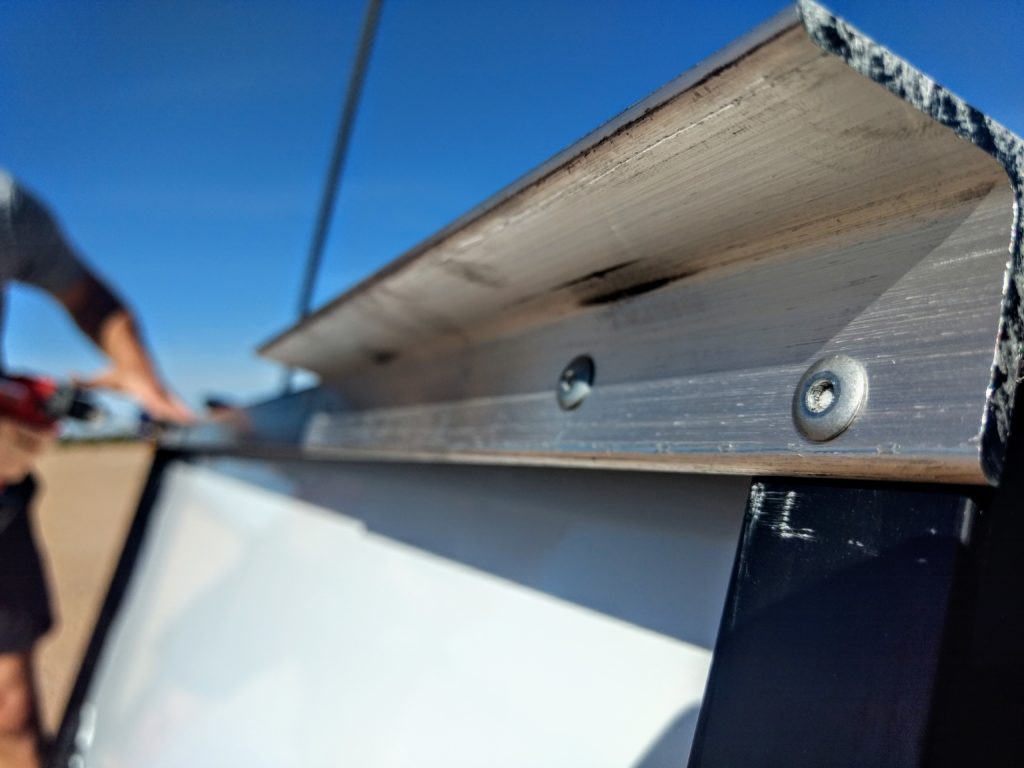
How you mount your panels will be directly dependent on your solar panels and their intended mounting. I use residential panels with aluminum angle iron to secure them. This allows me to tilt the panels and make up for imperfections in the roof. I secure four mounting angles to each solar panel with structural rivets.
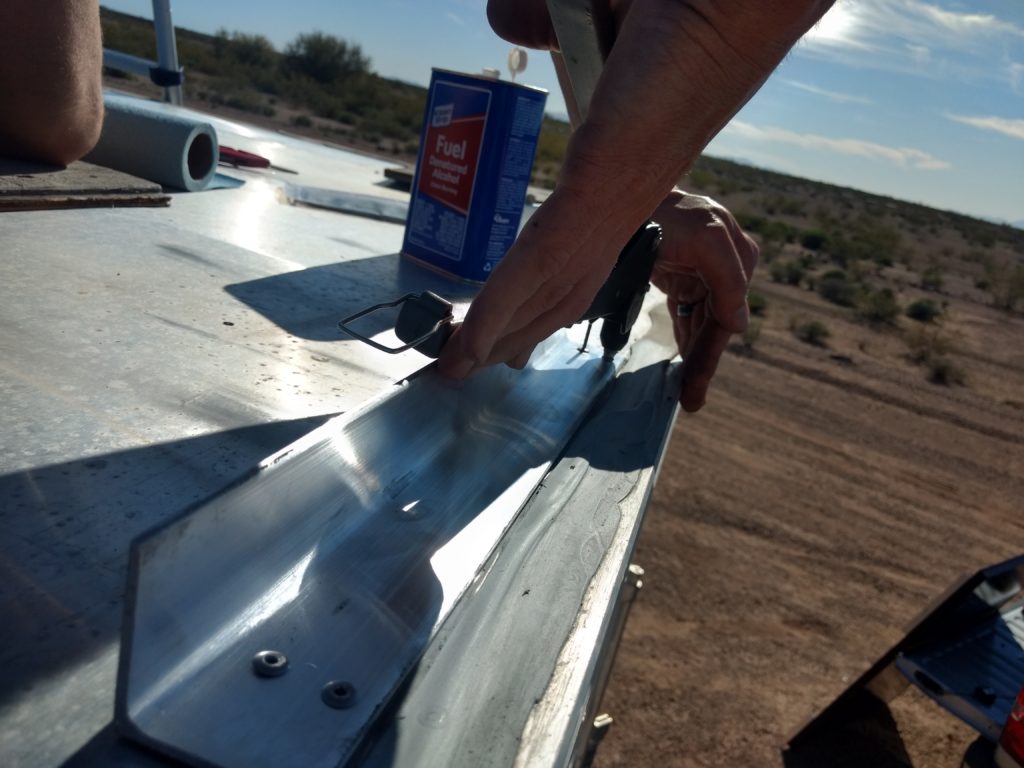
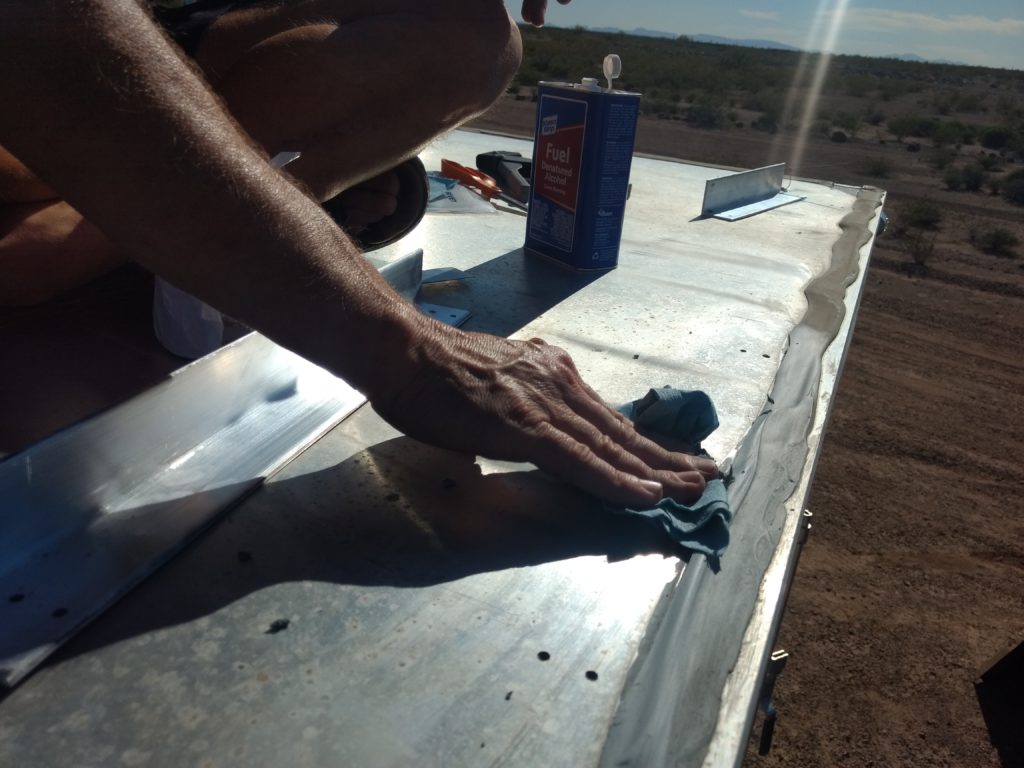
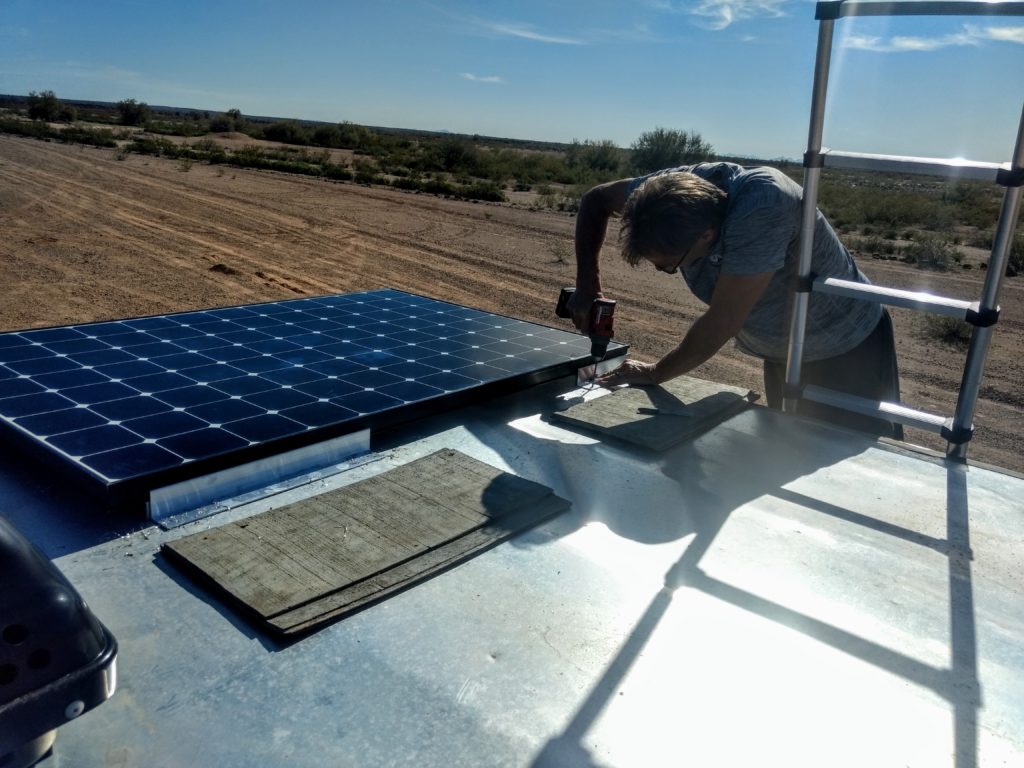
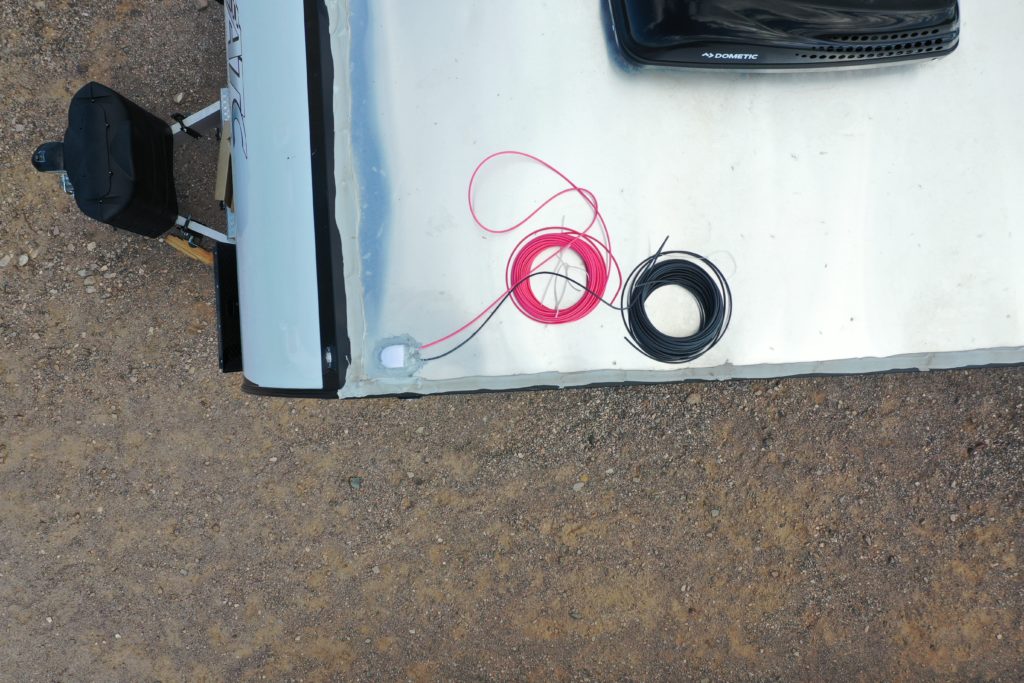
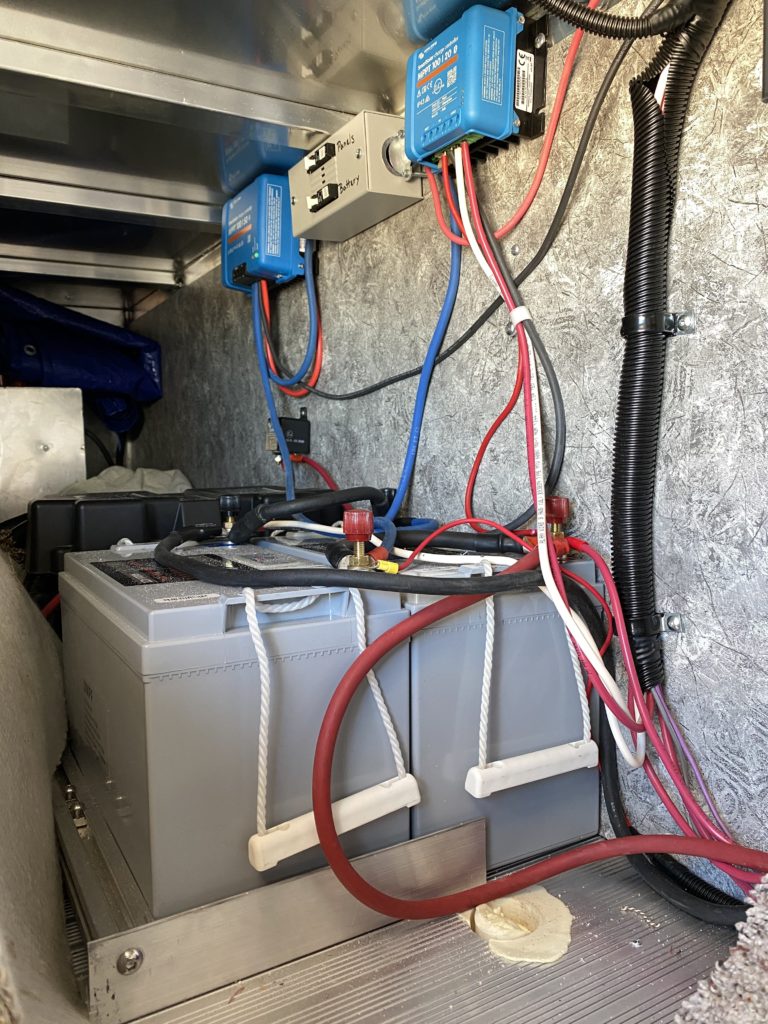
Denatured Alcohol or similar will clean the oxidized sealant from the factory and the aluminum roof for the 3M and Dicor. Next is taping the feet and riveting them into position on the roof. I will use Dicor 501 sealant on the inside of them before mounting the panels as this area will not be accessible later. Next I will use a spacer (typically a 2×4) to keep the solar panel from contacting the sealant before securing them to the feet. It is important to get the wires on the solar panel connected or available while you can still reach them! It is also a good idea to make sure that the panels are wired correctly and functional before completely securing them to the feet. When they are connected you can check them with a multimeter to check the voltage. When connecting the solar charge controller always connect to the battery first and disconnect last to make sure not to damage it.
Sealing the Roof
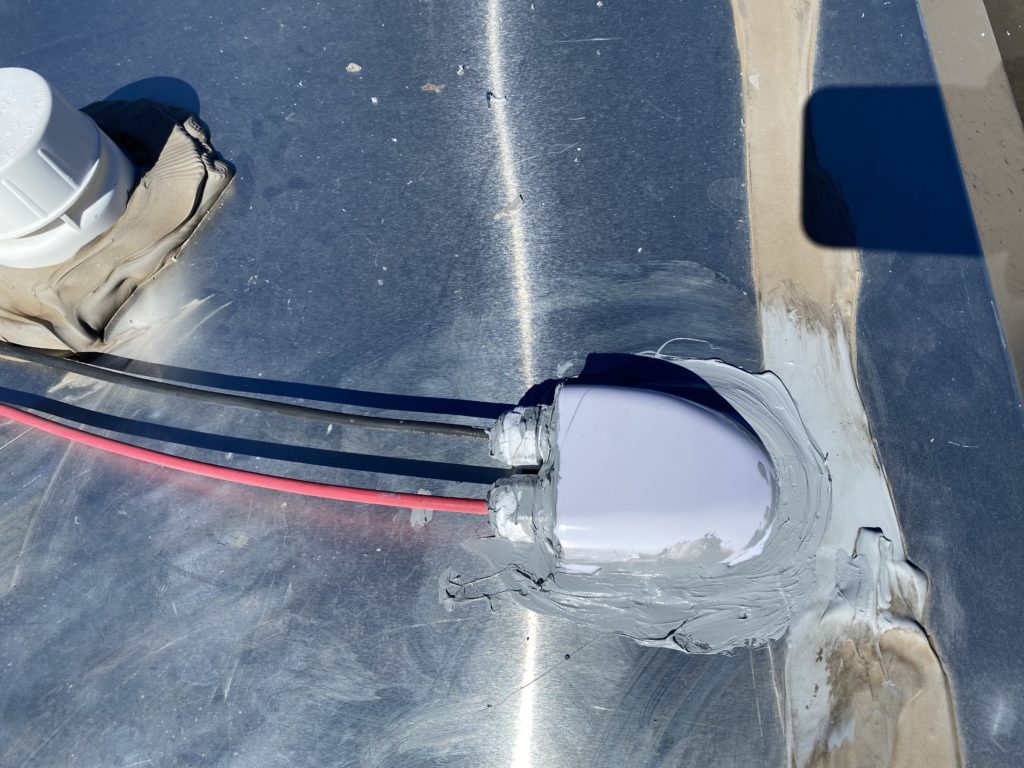
After you have the solar panels tested and secured it is time to seal the rivets and feet with Dicor. The rivets I use are water tight, similar to the Airstream rivets and I choose to use Dicor 501 on top of them as well. It is important to prep the surface first again before applying the sealant.
Next – Mounting the Solar Charge Controller and Circuit Breakers
